The roof, the drywall, the foundation, and everything in between – it’s safe to say home deconstruction is a massive undertaking.
Whether you’re tearing down your home because of a faulty foundation and old age or to start again with a blank slate to make your own, you and your contractor are about to have your hands full with materials to take apart and debris to clean up and clear away.
Roughly 600 million tons of construction and demolition debris is generated each year, according to the U.S. Environmental Protection Agency. Demolition debris from homes includes steel, wood, drywall and plaster, brick and clay tile, asphalt shingles, concrete, and asphalt concrete, the EPA says.
To get the ball rolling on their home demo, homeowners will need to decide between deconstruction or mechanical demolition. As a rule of thumb, think of deconstruction as tearing down your home by hand, with an emphasis on salvaging as much as possible to be recycled or reused again, while mechanical demolition involves using heavy machinery to tear your home down.
While it may take longer to get the job done, the EPA says deconstruction can help you save up to 70 percent of building materials for recycling and reusing.
If you’re about to embark on tearing down your home, here’s a step-by-step look at what to expect from your home deconstruction. Let’s roll up our sleeves and get started!
Step 1: Prepare Your Property for Demolition
Start the preparation by removing furniture and your family’s belongings from your entire property. This will involve packing away furniture, kitchenware, appliances, clothes, and any other household items. You’ll likely focus on donating items to lighten the load for your new home, too.
Next, you’ll need to contact all your service providers to disconnect your gas, water, electricity, sewage, phone, and internet services. In some cases, your local fire department or building authorities will confirm that all utilities are fully detached before you can begin the tear-down process.
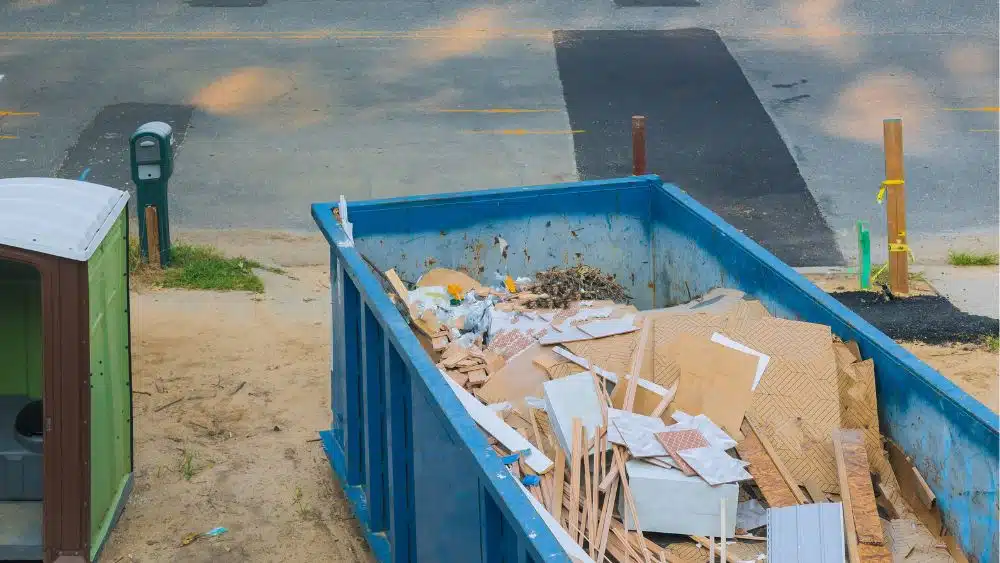
At this stage, check with your contractor that you have all the required permits and home inspection clearances to proceed with tearing the property down, along with the appropriate equipment rented out, including a demolition dumpster to dispose of debris along the way.
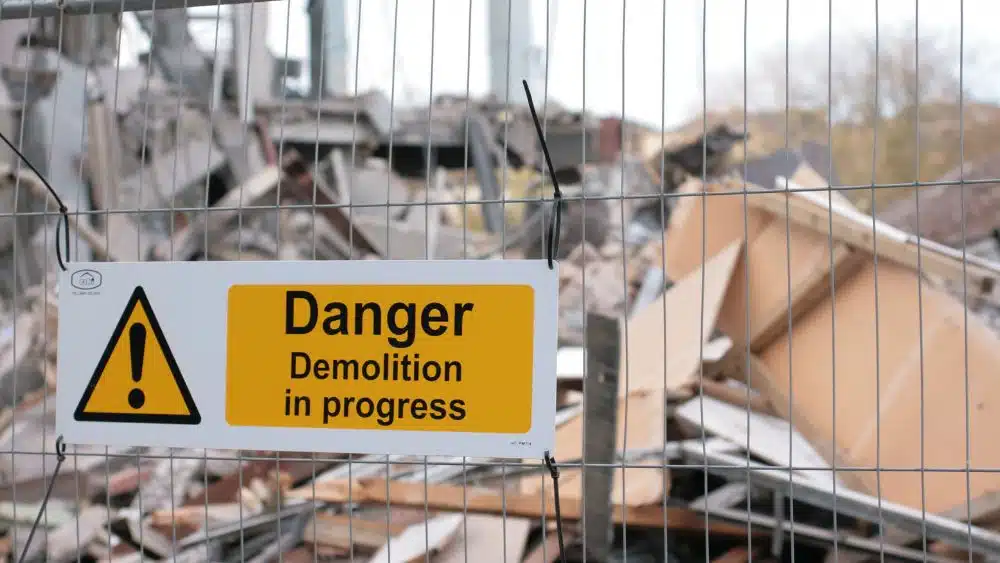
For your neighbors’ safety, secure the perimeter around your home where deconstruction will be going on. This includes signage, caution tape, temporary fencing, and barriers, especially if you have a large dumpster parked outside of your home for waste removal.
Step 2: Take Inventory of What’s Salvageable
Before you start ripping out floorboards and pulling away wallpaper, create a game plan so you know what can be salvaged for recycling or reusing, and what needs to be tossed away.
Keep in mind, these materials are great for salvaging before demolition:
- Windows and doors in good condition, especially if they’re energy-efficient and double-paned. Metal window frames and untreated wood can also be recycled.
- Bathroom and kitchen cabinets that are still in great shape, complete with working doors, drawers, and handles can be reused again. Homeowners can also salvage sinks and vanities that are in tip-top shape.
- Major appliances such as your stove, washer, dryer, microwave, and dishwasher should be salvaged if they’re less than five to 10 years old and still in great condition. Other appliances, like bathtubs, toilets, and lighting should be salvaged if they’re free from rust, water damage, and any other signs of significant damage.
- Flooring, such as wood floors and clean carpeting, can be donated for reuse, while ceramic tile is a great candidate for recycling. Broken tiles, stained carpet, and vinyl would need to be thrown out, though.
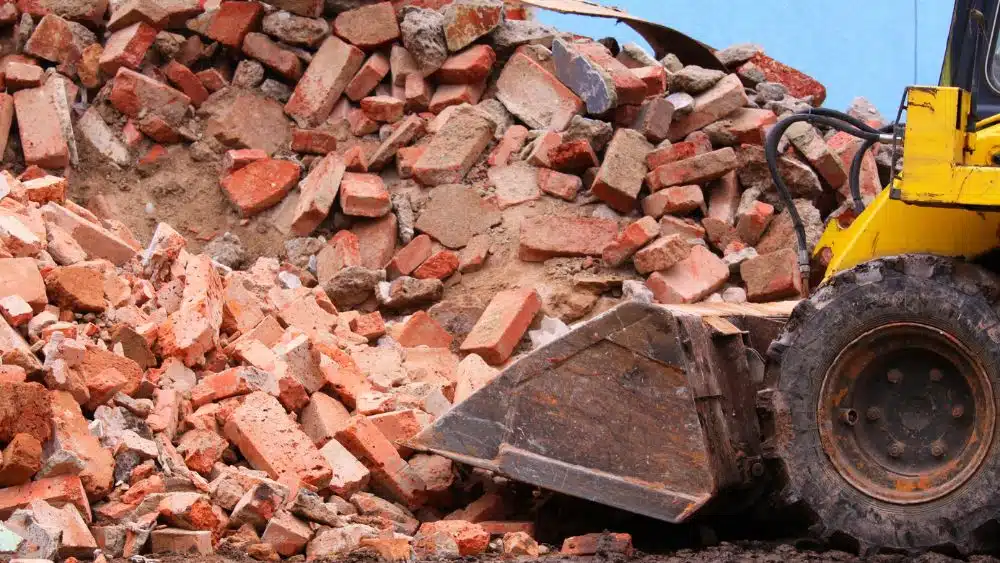
- Concrete and asphalt gathered from around your home and its perimeter can be broken up and moved to a recycling site or reused.
- Bricks can be reused or recycled, especially if they’re in good condition.
As a rule of thumb, roofing materials aren’t reused because they wear down over time.
Keep this guide handy as you map out what you’ll need to carefully dismantle to donate, reuse, or recycle. You may decide to keep some of your appliances that still have a good few years of use in them, or you could connect with a local Habitat for Humanity to see if they’re interested in reusing any of these materials for their next project.
Step 3: Remove the Flooring Materials
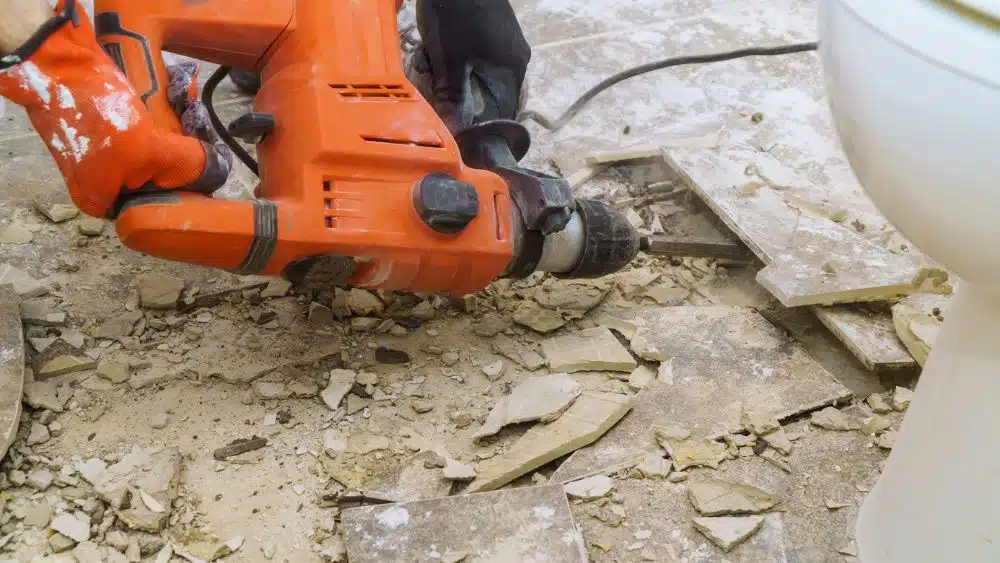
Once you’ve moved all your valuables from the home, your contractor will start to tackle the floors throughout the interior of your property. This is one of the first steps if you plan on reusing or recycling the materials, whether you have carpet, hardwood floors, or tiles, so they don’t get further destroyed as your deconstruction progresses.
Step 4: Let the Walls Come Down
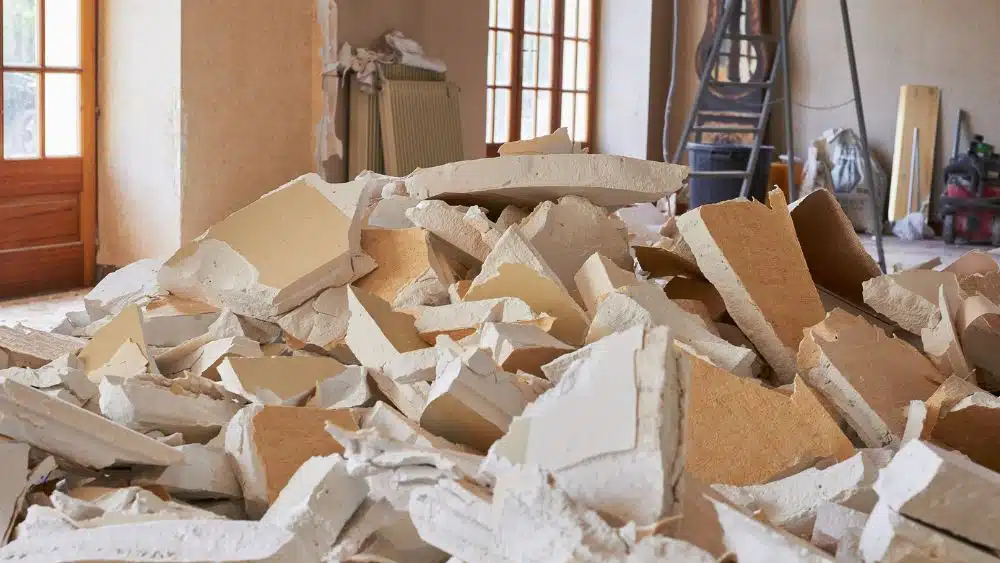
Next up, your contractor will remove the drywall throughout your home, including the structures beneath them.
First, they’ll strip the walls of any wallpaper, either by hand or with a chisel and knife. Once the walls are cleared of materials, they’ll tear them down.
Your contractor will assess your floor plan ahead of time, so he or she is aware of load-bearing walls. They’ll also be careful not to damage any wires or pipes held within the walls.
During the prep work, you would have had a thorough home inspection conducted to receive any demolition permits. If asbestos, rotting wood, or pests were found, your contractor will have to deal with added requirements around work practice, waste disposal, and recordkeeping as they work on tearing down the drywall. If any hazardous materials are on site, you’ll likely need to steer away from reusing, recycling, or donating anything due to safety concerns.
At this point, both your home’s floors and walls will be in a bare-bones state.
Step 5: Remove Your Home’s Doors and Windows
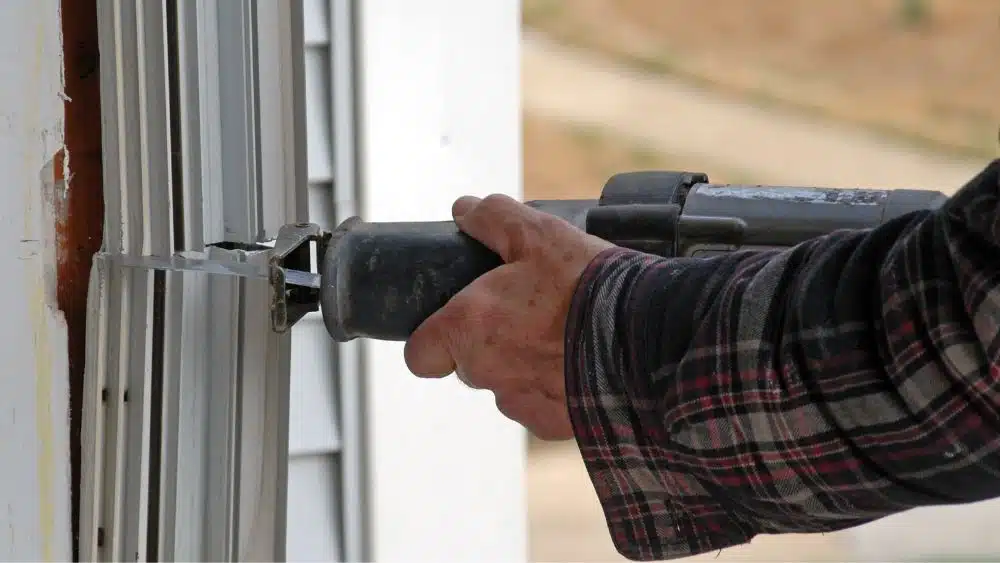
With an empty home in your hands, you and your contractor are in the clear to unhinge any doors and remove any window frames across the property. They’ll also remove the frames that keep these features in place.
This includes interior and exterior doors, such as the closet doors or the doors leading into the front and back of the home.
If you plan on keeping the doors and windows for reuse, recycling, or donating, unfasten the hinges carefully to remove them from their positioning. Bear in mind, some of these materials can be sold to building supply stores or for causes like Habitat for Humanity.
Your contractor will follow steps 3, 4, and 5 in each room of your home until the entire house is stripped of walls, flooring, doors, and windows.
Step 6: Deconstruct Your Kitchen…

While the bedrooms and living room may be easier to take apart, your kitchen is a bit more complicated because it has so many fixtures built into the space.
By now, all major appliances in this space should be moved out, such as your refrigerator, oven, dishwasher, and microwave.
The next step is to remove the countertops, which your contractor will do with a chisel to separate the countertops from the caulking material and the walls. They’ll pry the countertop away, exposing the cabinetry underneath.
They’ll move onto the cabinets, wall tiles, and flooring. If your cabinets are still in mint condition – or even gently used – with fully intact doors, shelves, and handles, gently remove them so they can be recycled or donated.
Your contractor can apply the same tactic to carefully remove kitchen sinks and faucets that still have life in them and can be used in another home.
Your kitchen should look sparse by now without the appliances, cabinets, and sink – all that’s left to do is remove the flooring, whether that’s tiles, hardwood, or vinyl, then remove the drywall.
Step 7: …and Your Bathroom
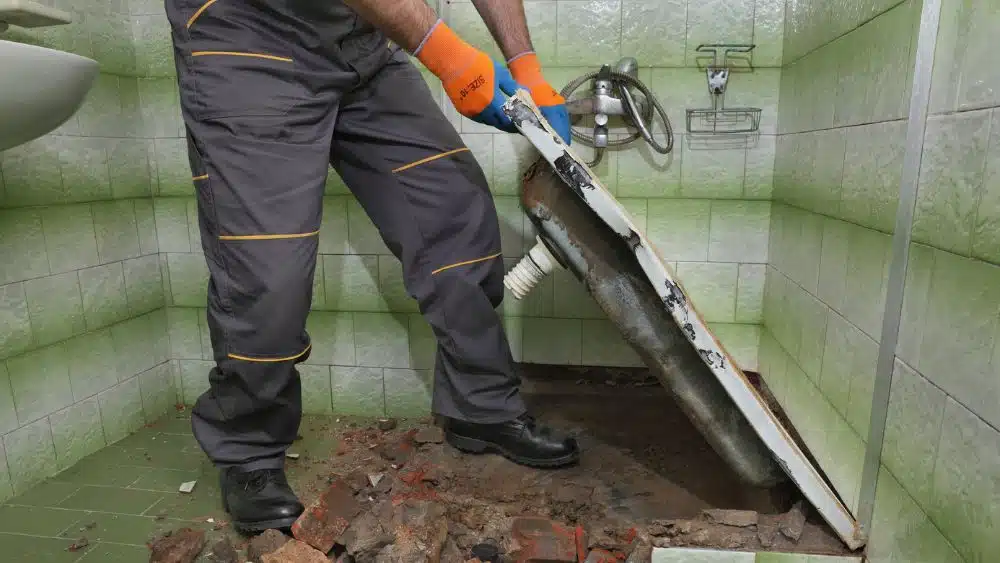
Count on your contractor to carefully dismantle your bathroom in the same manner as they did in the kitchen. They’ll need to remove the sink, bathtub, and toilet as the key main fixtures in the room, then move on to the cabinetry built into the walls.
After that, just like in your kitchen, they’ll tackle the tile or vinyl flooring and then deconstruct the walls, now exposed without a bathtub, cabinets, and vanity.
Your contractor will be careful with this step, especially if you plan on salvaging key materials in this room.
Step 8: Remove the Pipes and Wiring Throughout the Home
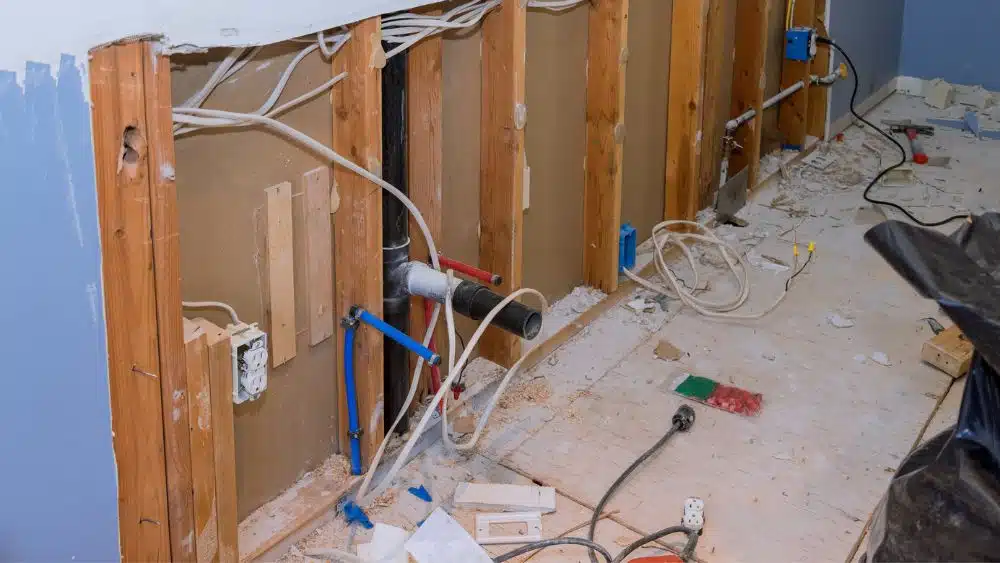
What’s left in your home should be the internal structure propping the property up, along with your home’s “guts” – essentially the plumbing, electric circuitry, and other service lines remaining.
Your contractor’s final frontier before deploying the heavy equipment is to remove what he or she can of wires, cords, and pipes if needed for salvaging.
Most homeowners forgo this step leaving these final pieces for demolishing, but if you have copper wires or scrap metal, these can be carefully removed, then sold or recycled.
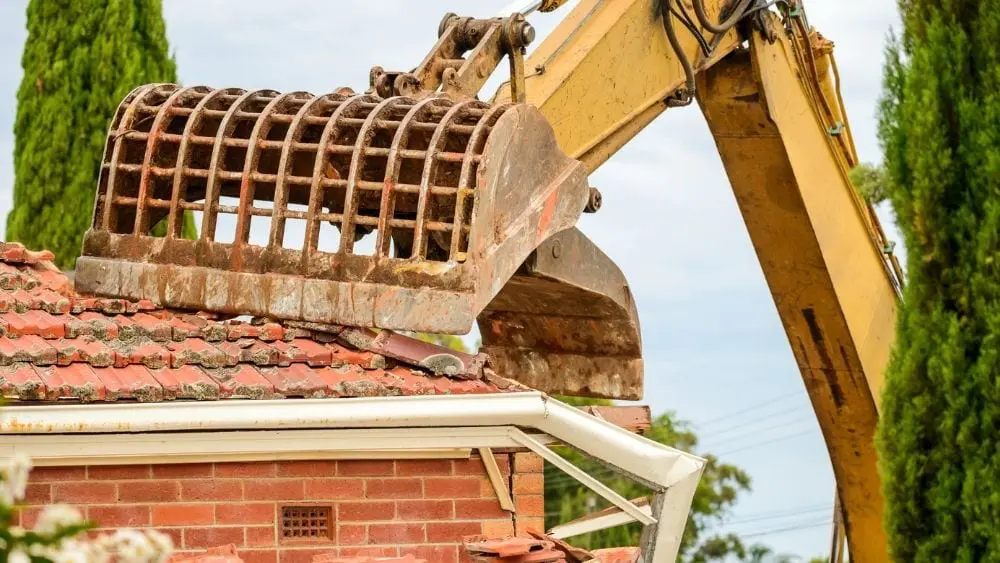
Step 9: It’s Time to Bring the House Down
If you’ve opted for mechanical demolition, this is where your tear-down process begins.
There is a healthy compromise, though: some homeowners working with their contractors may choose something between a meticulous deconstruction and a full-on demolition. This way, the key fixtures and materials are removed from the home, but the entire property isn’t deconstructed by hand.
Rely on your contractor for this step – he or she will use heavy machinery, including an excavator arm and bulldozer to cave in your home’s roof. Beginning the demo at the top of the home limits the risk of the building falling over, causing a serious risk of harm.
After that, your contractor will work on knocking over the wall frames and caving into the floors. They’ll also dismantle the brick walls, careful to salvage this material if you’ve requested it.
The final product will be a home reduced to rubble with all the floors and walls leveled.
Step 10: Pick Up the Pieces
The final frontier in your home demolition project is to tidy up the gigantic mess you’ve made so that your property is an empty lot ready for its next phase.
Your contractor will use their heavy machinery to get this part of the job done, too. Excavators will do most of the heavy lifting, scooping up debris and dropping them into a dumpster for easy disposal. He or she could also rely on a bulldozer to push the debris close to your dumpster, before hauling it into the dumpster one wheelbarrow at a time.
Make sure you’re finding the appropriate places to remove waste, donate gently used materials, and reuse fixtures from your old home in your new space.

Carmen Chai is an award-winning Canadian journalist who has lived and reported from major cities such as Vancouver, Toronto, London and Paris. For NewHomeSource, Carmen covers a variety of topics, including insurance, mortgages, and more.
 10 Best Places to Retire in Alaska