Moisture is good for house plants and dry skin. But if you’re talking about your new home, not so much!
Moisture seeping through your home’s foundation could be your worst nightmare. Welcome mold and mildew and say goodbye to those precious family photo albums and old love letters you stored in the basement. But have no fear. The foundation drain on your new home was designed to help prevent just such a tragedy.
What is a Foundation Drain?
This drain is buried, and you can’t see it. So, what is it and how does it work?
A residential foundation drainage system (or footing drain) generally consists of a perforated 4-inch plastic, PVC or flexible ABS pipe installed underground around the perimeter of your home to keep water out. First, a trench is dug, then the concrete footing and the concrete foundation wall are poured and cured. Next, the exterior is coated to prevent moisture intrusion.
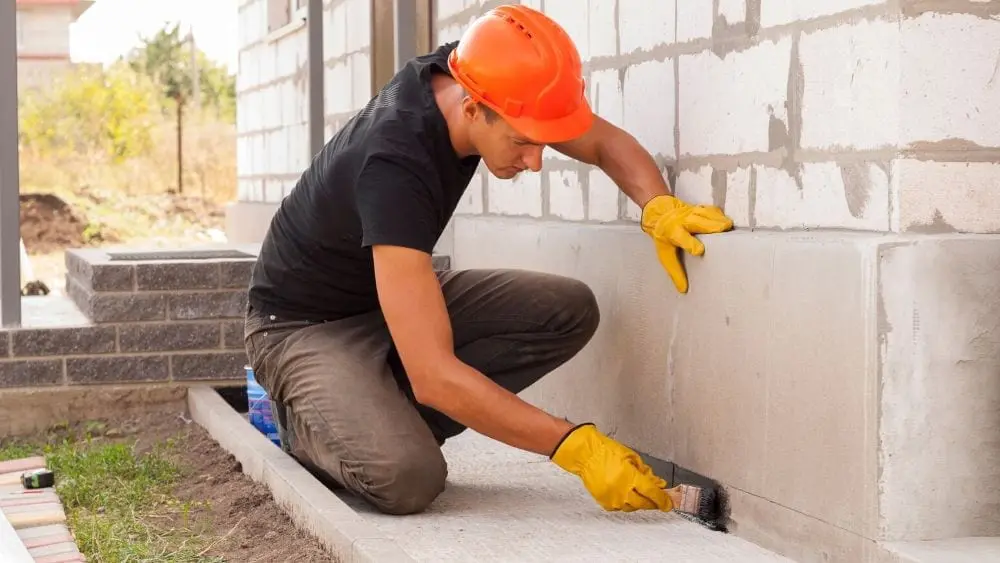
Water-proofing the exterior — not just damp-proofing — is highly recommended. Water-proofing the basement walls prior to backfill, preferably with a brushed or sprayed-on rubberized or clay-based system, is a must if you want your basement to be kept dry, according to James Baty, Executive Director of the Concrete Foundation Association.
Finally, the drainage pipe is installed with drain holes facing down. The pipe is run to daylight, a drywell, or a sump. If the home has a basement, a sump pit with an electric pump is installed, too.
On Top or Alongside Footing?
There is some disagreement on whether the drain pipe is best set on top of the footing and next to the foundation wall or alongside the outside edge of the footing.
Some contractors believe that putting the drain pipe on top of the footing puts too much water at the footing/foundation wall joint. Putting the pipe alongside the footing puts the water table about six inches below the top of the footer. Others say not to worry. With an open drain running to a sump or to daylight, there is not enough hydrostatic pressure to push water through this seam. Placing the pipe on the footing is also less expensive.
“Either is acceptable,” says Baty. Both installation methods are recognized by the International Residential Code (IRC). “Both require developing an aggregate reservoir around the drainage tile as well as protection of that reservoir with filtration fabric,” Baty says. “My preference would be to place the drainage tile in line with and within the thickness of the footing so you can use cross-over detaining between interior (below slab) and exterior drainage systems.”
In either case, the level of the drain should be below the bottom of the slab. When placed alongside the concrete footing, the bottom of the drain pipe should be about two inches above the bottom of the footing so as not to undermine the footing.
Some recommend that the drain pipe be pitched at least 4 inches for every 100 feet of length. However, the pipe is commonly installed without a pitch. The thinking is that if the drain is piped to a sump or to daylight, water will seek the easiest outlet and a drain without a slope will not be a problem.
It has also become popular to address a condition called ‘rising damp,’ notes Baty, which looks at the transfer of moisture between the footing and foundation wall. Some contractors apply a liquid membrane, plastic capillary break or angled foam seam at this joint prior to pouring the foundation wall. “But if you use a keyway joint between the two and have proper detaining controlling the drainage near this interface you really don’t get migration of moisture here,” says Baty, Accordingly, he doesn’t recommend using these techniques between the footing and foundation wall.
Covering the Drain
The drain pipe is usually covered with a permeable mesh or sock to prevent soil from entering. It is then covered with a few feet of gravel. The IRC says the drain pipe should rest on a minimum of 2 inches of washed gravel or crushed rock. The gravel should also extend at least a foot past the outside edge of the footing and at least six inches above the footing.
Next, a filter fabric is added over the stones and, finally, the trench is backfilled with soil. The backfill might then be compacted. To prevent foundation cracks, backfilling and compacting shouldn’t be done until after the basement floor or slab is in place. The IRC also requires lots be graded to a minimum slope of 6 inches for the first 10 feet away from the home.
New Options
There are also some newer types of drainage systems. One uses hollow forms for the footings that also create a continuous loop around the foundation to collect water. Another, a strip drain, consists of a 12-inch tall by one-inch thick wide dimpled plastic strip wrapped with a filter fabric and designed to collect and move the water away. The latter is best combined with a drainage board that’s at least 24-inches high.
Dimpled plastic sheets, Baty notes, are good systems for the face of the foundation wall and can relieve hydrostatic pressure where there are high water conditions. However, you still need a water-proof coating.

Roy Diez is a freelance writer and marketing professional specializing in the architectural, building and construction industry. He is a former editor-in-chief of Professional Builder magazine.
 Doors That Score High in Energy Efficiency and Good Looks