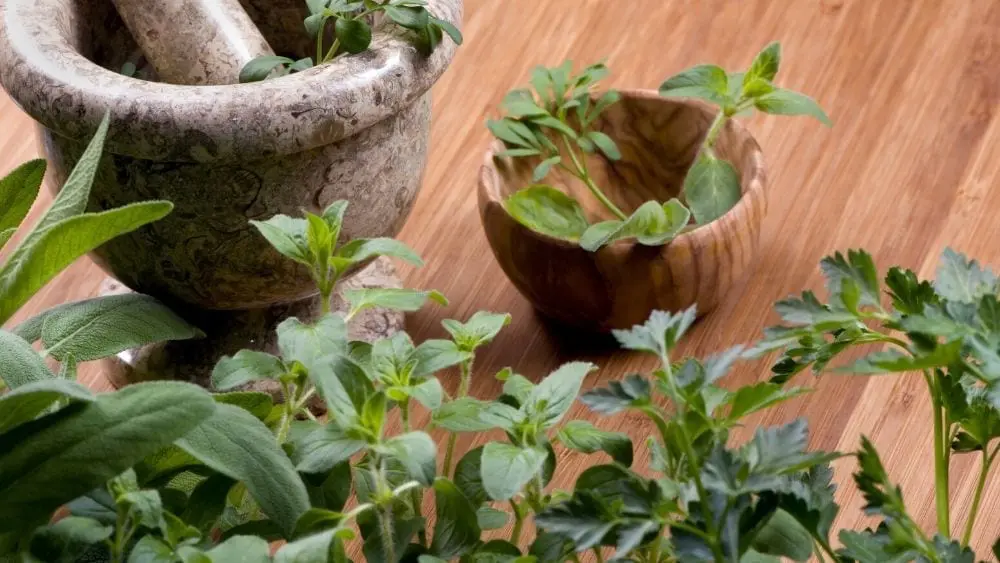
If the idea of using freshly cut herbs in your favorite recipes is appealing, but you don’t have the yard space to plant an herb garden, don’t despair. A kitchen herb garden is the next best thing. In fact, without the heat and pests to contend with, a kitchen herb garden might just be a better option – especially for beginners. As with all gardening, planning before planting is key. Here is a step-by-step guide to get your herbs off to a healthy start.
Let There be Light

Herbs thrive in sunny spaces; most varieties will need at least six hours of sunlight daily. East- and west-facing window sills are ideal homes for your herb containers. If a window sill won’t work, try moving a plant stand or table near a window. Just be sure your plants’ delicate leaves don’t touch cold windows.
If your kitchen lacks strong natural lighting, invest in fluorescent grow bulbs, especially during the darker winter months. But, while herbs need sun and light to grow, they also like a rest. Most prefer a total of 10-12 hours of light (sun and artificial) daily.
Grow What You Will Eat
Before you head to the plant nursery for seeds or seedlings, first think about what you will actually eat. Herb plants do best when they get a regular trimming. Take inventory of the common recipes or types of foods your family likes.
Do you need a weekly Mexican food fix? If so, you’ll want a pot or two of cilantro. Is Italian your comfort food? Then consider adding oregano, basil, parsley or garlic chives. Do you enjoy flavored teas and waters? Be sure to add mint varieties to your shopping list.
Since you will likely have limited space for your indoor garden, be strategic about your plant choices. Need some inspiration? Peruse this list of some popular, and easy, indoor herb garden options.
Choose the Right Pots & Planters
Once you have zeroed in on the herbs you’ll plant, determine how many pots you can plant in your kitchen space. Invest in 8-inch or larger pots (use larger pots to combine complementary herbs). When it comes to the type of pot, there are lots of options.
According to Austin-based The Natural Gardener, “Plastic is lightweight and inexpensive, but may look cheap and deteriorate. Terra Cotta is inexpensive and readily available, but can discolor. Glazed Pottery is beautiful and long-lasting, but more expensive and heavy.”
Whatever type of planter you choose, be sure your pots have drainage holes and deep trays to catch any overflow.
Planting Your Herbs
Annuals like basil, cumin and sesame typically grow well from seeds. Perennials such as lemongrass and mint tend to take longer to germinate so start those from plants. Check with your local nursery or online herb gardening supplier for advice on which herbs will grow best in your region, and in which season. The National Gardening Association is a storehouse of information on types of herbs, and when and how to plant for best results.
Be picky about the soil you choose. Opt for a good quality potting soil or a 50/50 combination of a commercial seed starting mix and potting soil. Follow the directions on the seed packet to determine the depth to plant your seeds. If transplanting plants, dig a hole deep enough to cover the root ball only. Cover and water thoroughly. Add some mulch, stone, tumbled glass pieces or other topping to give your containers a finished look – and help hold moisture in the soil.
Feed and Water
Herbs are ideal for beginning gardeners because they are low maintenance. Feed them every one to two weeks with an all-purpose, organic fertilizer. Water as needed, but always empty the water tray. Can’t remember when you watered or fertilized last? Try an app like WaterBug or an old-fashioned printed (but fun) watering calendar.
Enjoy the Fruits of Your Labor
Now that your plants are happily thriving in their kitchen containers, be sure to regularly them harvest. Pick from the top few inches when the plant is dry, and before it starts to flower. Tip: consistently deadheading (picking off flowers as they bloom) helps your plant continue to grow new leaves for harvesting. Use fresh, or dry or freeze your cuttings for future use.

Freelance writer and marketer Sue Durio has been writing about construction, design and related products for more than 18 years.
 Not Old, Just Classic: Vintage Kitchen Appliances