Aquariums filled with colorful fish of all sizes, shapes, and colors are often calming for the soul. Underwater plant life even conjures a soothing feeling of relaxation as the brilliant tiny ecosystem sways delicately throughout the day and night. It’s no wonder why many homeowners opt to transport their tanks full of vibrant sea life with them when they move to a new residence.
However, traveling with these tiny sea creatures can be tricky. There are several critical steps to follow to maintain the fragile balance of the underwater ecosystem and ensure that your fish are swimming happily in their new home. Here is a step-by-step guide to moving with fish and other aquatic pets.
What You’ll Need
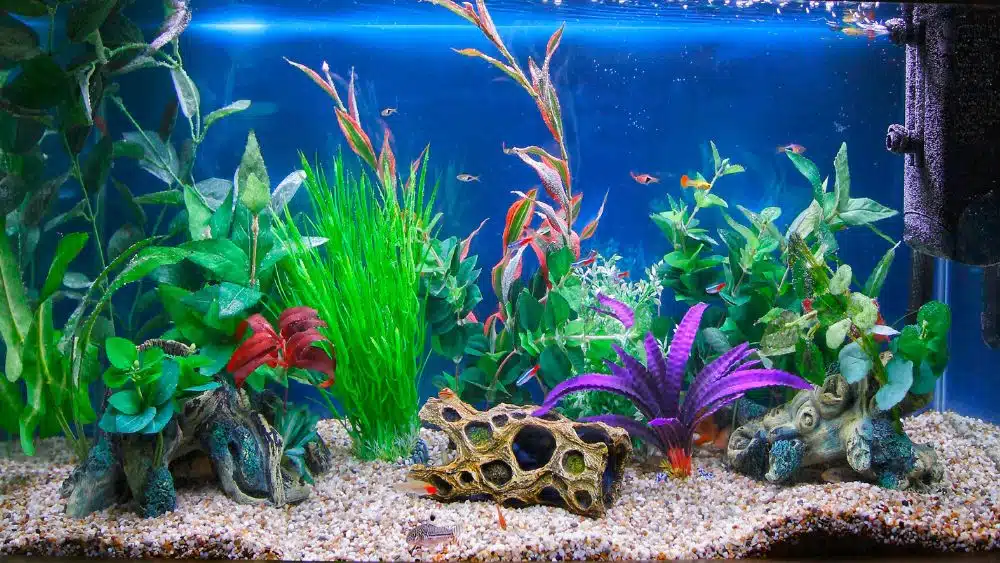
There are several items that you will need to get from Point A to Point B with your aquarium species in healthy shape.
- Fishnet for catching fish and placing them in their travel containers.
- Travel totes, five-gallon buckets, or plastic bags to carry fish, hermit crabs, and snails. Consider the size of your fish and the distance of your move to determine the appropriate container. For larger fish and longer distances, you might consider larger buckets with lids. If you have smaller fish and are moving within a few hours or less, you may be able to get away with bags or small containers with lids. Tall cups or mugs with stable footing in the transport vehicle are best for seahorses and pipefish that naturally follow vertical movements.
- Buckets to transport aquatic plants that must travel while fully submerged in water.
- Packing tape to secure lids to plastic travel containers.
- Oxygen, if needed for long-distance moves in bags transporting fish.
- Siphon hose for draining water from the tank.
- Durable gloves for handling coral and live rocks with healthy bacteria.
- Cooler for transporting fish in a (mostly) temperature-controlled container.
- Towels and paper towels for cleaning up any spills, droplets, and accidents.
- Packing supplies for storing and transporting the aquarium, decorations, food, and filtration system. This may include packing paper, air-filled plastic padding, foam board insulation, and crates or moving boxes.
Preparation Prior to Moving Day
There are several ways to prepare in advance for the big transition.
30 Days Prior
Place a few sponge filters in your sump or place them out of sight in the tank. These will become colonized with healthy bacteria to jump-start your biological filter when you set up your tank in its new home. On moving day, pack these sponges in a plastic bag, exactly as you would with your fish, and transport them in the cooler.
Five Days Prior
Change about 20 percent of the water in your tank. This will ensure the water that you will use for transport is clean while giving enough time for the water temperature and nitrogen levels to balance out.
24-48 Hours Prior
Hold off on feeding your fish in the 24 to 48 hours prior to transport. Fish can live without food for up to a week, so a couple of days will not be risky. Postponing their feeding will keep the tank clean and minimize toxins that can’t be filtered before the move.
Transport by Air
For individuals arriving at their new home by plane, TSA allows live fish to be transported in their carry-on. This is subject to certain size, weight, and container restrictions. It’s best to research these regulations well in advance of your move and plan accordingly.
The Moving Process
Here are helpful tips for getting your tank packed up and livestock safely secured.
Last Out, First In
To minimize the time that your livestock will be waning oxygen and in an unstable transit situation, it’s best to pack your tank last. When you arrive, your aquarium should be set up first. This means that you need to have a plan in place to efficiently pack everything up as quickly as possible. Keeping your fish and plants out of water for too long may result in added stress on the livestock.
Packing Fish
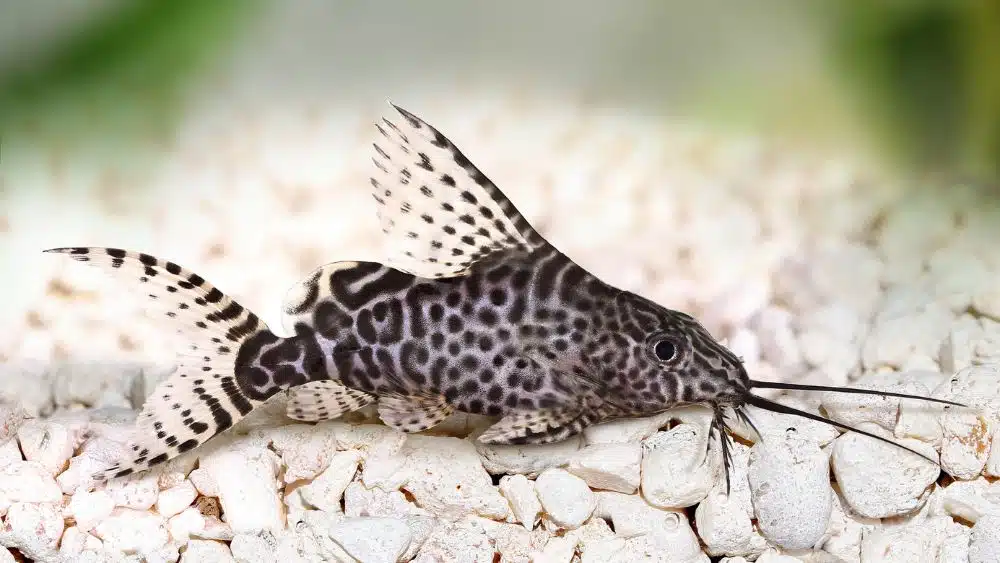
Depending on the size and characteristics of the fish, determine which type of container is most suitable for transport. If placing your fish in plastic bags, fill the bag about a third of the way with aquarium water. Double bag for extra anti-leak protection and secure with a rubber band. If traveling for more than one hour, use pure oxygen in the bag. Place fish in bags individually and set the bags in a temperature-controlled cooler.
Packing Coral and Aquatic Plants
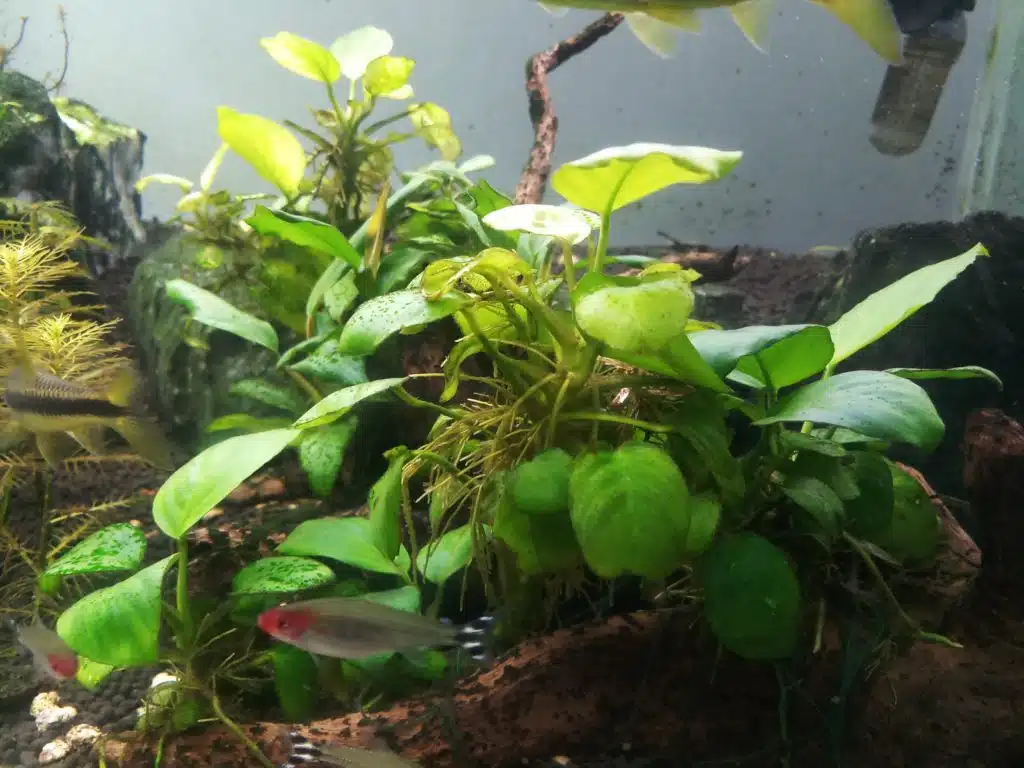
Soft corals may be stored in small plastic bags with aquarium water. Ensure that the bag is not totally filled with water; include some air for breathing room. Soft corals belong in a temperature-controlled cooler to reduce temperature swings and potential jostling in transport.
Stony corals require tougher plastic containers for transport that will resist breakage and tears. For very large corals that won’t fit in resealable plastic containers, a bucket will do.
For aquatic plants, use small bags, buckets, or resealable containers with aquarium water to transport them to their next location.
Packing Snails
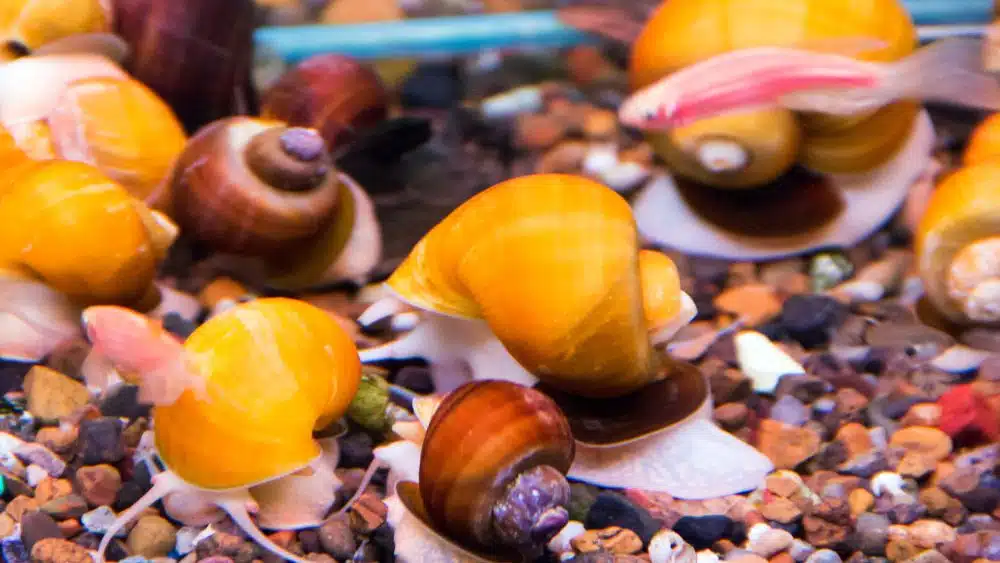
Pack any snails in a plastic bag filled about a third of the way with aquarium water and include a small java moss or the like. Make sure they can move in and out of the water to access air. Store these guys in a temperature-controlled cooler with your fish, plants, and live rocks.
Packing Live Rocks
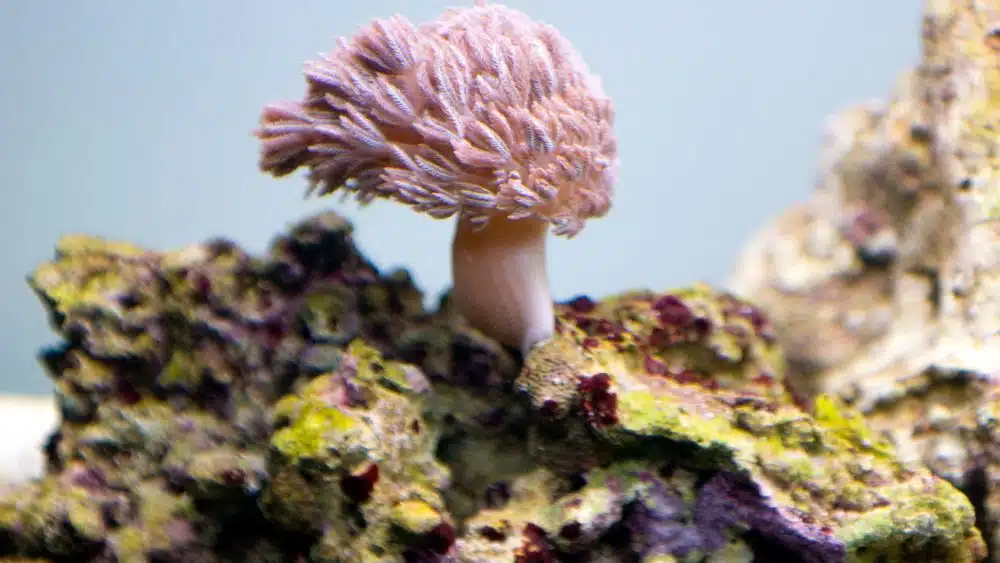
A “live rock” is not exactly as it sounds. Live rocks are not actually living, but rather carry thousands of beneficial living bacteria and organisms on their surfaces. These bacteria propagate to maintain a healthy ecosystem and break down toxins, making the live rock a vital component of the underwater ecosystem. To move live rocks, you can either transport them in a bucket with aquarium water or wrap them in paper towels that are damp with aquarium water and store them in a temperature-controlled cooler. Whatever you do, it is critical to keep the rocks from drying out and maintain a relatively stable temperature. The last thing that you want is to bring your fish to their new home and place them in a tank that is stripped of all healthy bacteria, requiring the tank to start a new cycle. Bringing your live rocks and backup sponges will help speed along the bacteria filtration process.
Pack Your Substrate
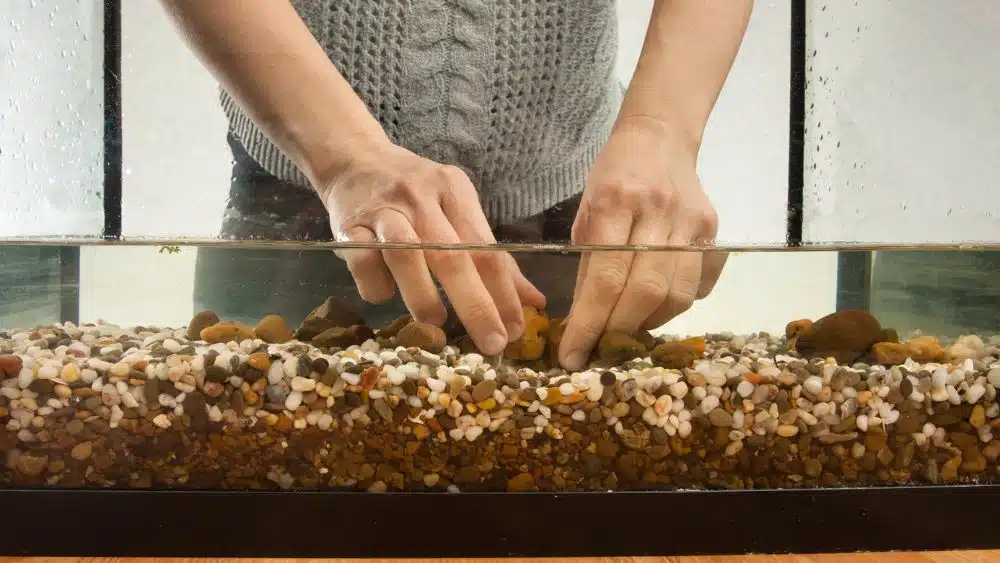
You can try to pack your substrate by placing it in a bucket with aquarium water but be forewarned that sand and fine gravel do not usually travel well. If you can scoop it up, it’s best to bring as much as you can to your new home. If not, then don’t sweat it.
Preserve the Water
Because both saltwater and freshwater ecosystems are full of biodiversity and hardworking bacteria, simply dumping the water and refilling the tank with fresh tap water in its new location will put a strain on your livestock. This is because the brand-new water is void of bacteria that help to break down toxins. Doing a complete restart cycle for your tank will put your fish at risk of going into shock from the stress.
Therefore, it is best to try to preserve as much of the original tank water as possible. Use the siphon tube to drain the aquarium water into transportable buckets. Use clean buckets that have never had contact with any chemicals. Don’t fill these to the top or you might risk a splash disaster. Plan to take as much of the original water as possible.
Dry and Pack the Tank
When the tank is drained, take out any plastic ornaments or decorations and wipe them down with a clean paper towel. Wipe down the glass tank thoroughly to scrub out any biofilm that will otherwise decay once your tank is up and running again. Once dry, use a fitted foam-insulated board to secure the sides of the tank or wrap it with air-filled insulation to prevent any cracks in transport. Fill the inside of the aquarium with packing paper and do not stack anything on top of it. Ensure that it is carefully tucked in a secure place in the transportation vehicle.
Place Livestock in Your Vehicle
Because moving trucks are prone to jostling, sliding, and temperature changes, it is best to keep your cooler with any fish, plants, live rock, bacteria, and other aquatic pets in your personal vehicle. Avoid placing the cooler near any heaters or cold air vents. Try to maintain as much stability as possible. Cleaning equipment, light fixtures, and plastic ornaments can be transported in the moving truck.
Upon Arrival
As mentioned above, it’s best to set up your aquarium as soon as possible in your new home to avoid sending your livestock into shock from decreasing oxygen or temperature instability.
Check for Leaks
Because a tank can shift in transit and cause tiny cracks that may not be noticeable at first, it’s a good idea to run a quick test for leaks before accidentally ruining your new floors and losing all your precious transported aquarium water.
Set the tank on your driveway or any surface that can get wet without damage. Fill the tank with water, wipe down the exterior, and wait. If you don’t see any leaks and feel confident that the tank survived your move, then dump the test water and set up the tank in your desired location.
Refill from the Bottom Up
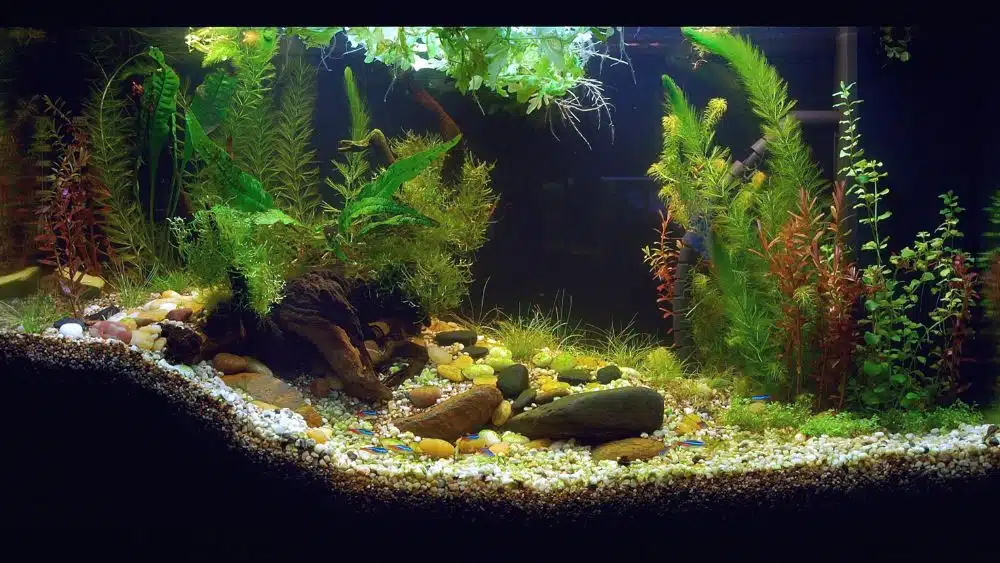
Begin with the substrate: If you were able to salvage any from your first aquarium, use it. If not, don’t sweat it! You can easily purchase new substrate for your tank, just wash it thoroughly. Fill the tank with an inch or two of the reserved tank water and then add your substrate, allowing it to easily settle down in the bottom of the tank.
Next, add in your live rocks and any sponges that you might have kept as backups. Check every item before it goes into the tank by giving it a short whiff. If it smells pungent or has a bad odor that is not reminiscent of the ocean, do not place it in the tank. Something could have gone wrong with the bacteria and it may do more harm than good to place it in the tank.
Take time to set the live rocks exactly as you like them. Then, fill the tank with your reserved aquarium water. Once filled, set up and turn on your heater and filtration system. Allow the tank to reach an equilibrium with the water temperature, which in turn will help regulate bacteria and the tank to cycle normally. When your tank has reached a relatively stable temperature that is suitable for your livestock and you feel comfortable with reintroducing aquatic life, you can move on to the next step.
Introduce Fish, Coral, Plants, and Other Vertebrates
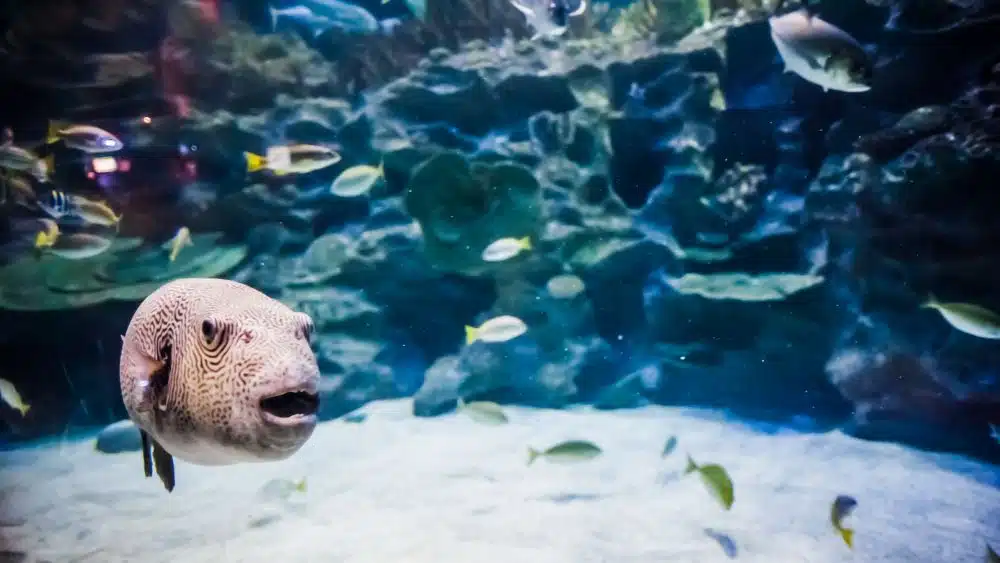
There are a couple of ways to go about reintroducing your livestock to the new tank. The recommended approach uses a drip method, which essentially allows the livestock to slowly become acclimated to the new water over some time, usually about 30 minutes. This method requires lots of buckets, valves, towels, and tubing. The livestock is placed in a bucket, one at a time, while a length of tubing provides a consistent drip of tank water into the bucket over the 30-minute period. As the fish gradually adjusts to the temperature, pH, and bacteria levels, it will be ready for you to use the fishnet to drop it into the tank. This method takes a lot of time but usually produces positive results.
If you are running low on time or do not have the equipment necessary for the drip method, there is a second option. You can place the bags or containers of livestock in the tank and allow the temperatures to equalize. The bags should float since they have air on top. Keep the livestock in their bags, in the tank, for a minimum of one hour before releasing the fish into the tank. The fish may exhibit odd behaviors at first as they adjust to the water parameters but should adjust over time. Be sure to feed them as well.
Checklist
Finally, here is a checklist for moving your fishy friends. You can copy and paste this into your notes app for a quick and easy reference.
Prior to Move
- 30 Days Out: Place backup sponges inside the tank
- Five Days Out: Change 20 percent of the tank water
- 24-48 Hours Out: Refrain from feeding the fish
- Gather Your Materials and Make a Plan
On Moving Day
- Pack: Place fish, coral, plants, snails, bacteria sponges, and other live vertebrates in their own transport containers
- Collect all livestock in a temperature-controlled cooler and place it in your vehicle (not the moving truck) in a secure and stable place away from sunlight, heat, and air vents
- Pack: Place your live rocks in a bucket with aquarium water or wrap them in damp paper towels and place it in the temperature-controlled cooler
- Preserve water: Place your substrate and aquarium water in buckets with lids and place them in a spot that is away from drastic temperature changes
- Wipe down the tank and any decorations
- Pack: Securely tape protective materials around the glass walls of the tank to prevent breakage
Upon Arrival
- Test for leaks
- Set up the tank in the desired location
- Introduce substrate
- Introduce live rocks
- Fill with reserved aquarium water
- Connect to heater and filtration system
- Introduce livestock one at a time (drip method or in-bag)
- Feed the fish
Just Keep Swimming
If it seems like a daunting task, rest assured that you can follow these steps to transport your aquatic pets from one home to the next. If you have a rare pet or one with unique needs, consult your veterinarian for details specific to transporting your pet. In no time, you will be enjoying your soothing sea aquarium from its special space in your new home.

Melanie Theriault is a writer, counselor, and lifelong learner. She holds a B.A. in Sociology from Southwestern University, where she discovered her passion for fostering human connection through storytelling.
 10 Healthiest Cities in Albama