Nothing sounds more satisfying (and fun!) than smashing a hammer into the first layer of the drywall as you take the initial step in demolishing your home. But you’ve been warned: while home demolition is entertaining, a lot of preparation is involved before you get started.
There are roughly 600 million tons of construction and demolition debris generated in the United States each year, according to estimates from the U.S. Environmental Protection Agency. That’s a lot of properties turned to rubble! The EPA says that materials left in the wake of demolition include steel, wood, drywall and plaster, brick siding, clay tiles, asphalt shingles, and lots of concrete.
Some homeowners are forced to tear down their houses because of a faulty foundation, water damage from storms or burst pipes, or other hazardous factors while others opt to because they’re ready to rebuild with their dream home’s blueprint in mind. Either way, homeowners must follow a set of steps to make sure their home demolition is a smooth and safe process.
If you’re planning on tearing down your home to turn your lot into a blank slate, here’s a look at the 10 steps you must take to help you plan for your home demolition.
1. Decide Which Demolition Method Works Best for Your Property
The first decision you’ll need to make in your tear-down planning is which approach you’ll take for demolishing your home: a deconstruction or a mechanical demolition.
A deconstruction is demolishing your home by hand with a focus on salvaging as much as possible to be recycled or reused again, according to the National Demolition Association. It’s far more labor-intensive as it involves hand demolition and sorting and separating the rubble piece-by-piece. Expect this process to take longer and cost more – although, on the flip side, the EPA says you can reuse up to 70 percent of building materials through a deconstruction.
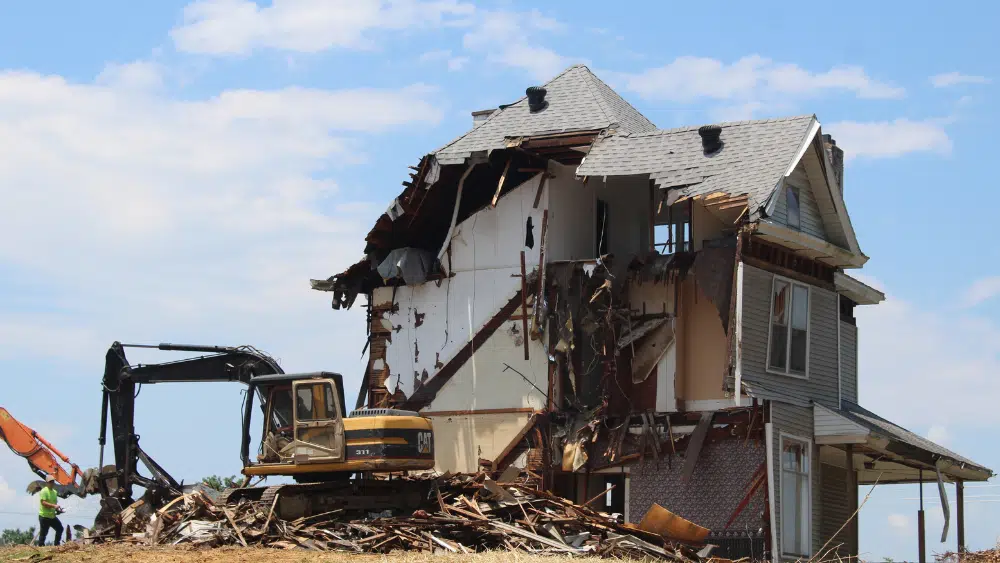
The other route you can take is mechanical demolition, which is the most common process homeowners turn to. In this case, regulated contractors use hydraulic excavators and other heavy machinery to tear down your house. Because it’s far more heavy-handed, you’ll have less to sift through to repurpose. The debris is typically removed through a rented trailer or dumpster. This route is often cheaper and less time intensive.
Homeowners can compromise and choose a path that involves both options, too. In this case, a combination involves salvaging all the required materials first, then leaving the rest of your property to be torn down with a mechanical demolition.
2. Choose Your Demolition Contractor
Home demolition is a huge undertaking and isn’t a DIY project. Once you’ve decided on the method you’d prefer to take, you’ll need to shop around and find the best demolition contractor.
To help you create a shortlist of top contenders, ask a handful of contractors for an estimate. These contractors can scope out the site, provide you with a quote, and offer their opinion on the best course of action to demolish your property.
While you might be tempted to fixate on price, zero in on the contractor’s credentials, their experience demolishing properties like yours, and whether they can provide you with the services you need. Demolition is a regulated industry so your contractor must be licensed and insured in your state.
Checking on their credentials will give you peace of mind, too. Ultimately, your contractor will be doing a lot of – literal – heavy lifting, so you’ll want to know you’ve hired a professional who can navigate the project safely, free from injuries and other hazards.
Once you’ve selected your top choice, make sure you get your estimate and proposal in writing so both parties know what they’ve agreed to.
3. Apply for the Required Permits
Before any heavy equipment can touch your property, you’ll need to receive the green light from your local county or city’s building administrators and receive building permit approvals.
Check on your local government’s website for their list of rules and regulations surrounding home demolition and consult with your contractor. If they’re local, they should know the ins and outs of what’s required before you can proceed with your project.
Each region will have its own set of rules you’ll need to play by, from giving notice to noise considerations to providing a projected duration for the demolition, and even how you plan on removing and recycling the debris. You’ll have to factor in your community as well – if your demolition requires removing a tree, for example, you’ll need a permit to get that done.
Anticipate plenty of paperwork for this step, and come prepared with a clear, specific plan on what you’ll need to do and how you’ll get it done. Expect at least three weeks to deal with the bureaucracy and the approval process.
4. Conduct a Home Inspection
Count on your local government to insist on a thorough home inspection before you’re handed any demolition permits.
Here’s why: homes, especially those that are decades old, may have hazardous materials, including asbestos, lead paint, rotted wood, and mold.
Conducting a home inspection will ensure your contractor knows what he or she is getting into, so they can equip themselves appropriately. If asbestos is found, for example, your contractor will have to deal with added requirements around work practice, waste disposal, and recordkeeping, according to the EPA.
You may have to meet federal, state, and local regulations, depending on where you live in the country. Some states only allow contractors who are accredited in removing asbestos to carry out this work.
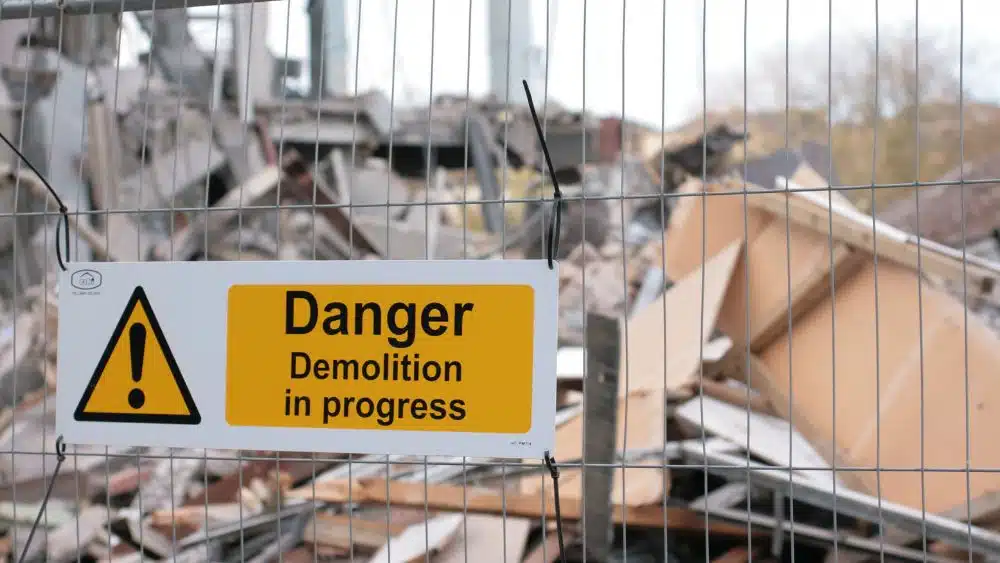
5. Give Your Neighbors a Head’s Up
Your house demolition is about to shake up the neighborhood for the next few days or weeks! Out of courtesy, let your neighbors know about your demolition project way before the first excavator turns up on your driveway.
You’re about to disturb the community with loads of noise, dust, and dirt, so the least you could do is give them ample time to prepare. They could opt to commute into the office for the duration it takes to demo your house, invest in a pair of noise-canceling headphones for the little ones, or ask their relatives to watch Fido so he isn’t rattled by the chaos.
If you really want some brownie points, bring your neighbors a bottle of wine or some chocolates to soften the blow. Your construction team may be waking them up every morning at 7 a.m.!
6. Disconnect All of Your Services
For safety’s sake, make sure you contact all your service providers and disconnect your services, at least in the interim. This includes gas, water, electricity, and sewage.
This step is crucial to the safety of your contractor and their team, along with your neighbors, during the demolition process. If these services aren’t shut off, you could have a disaster on your hands. That’s why some regions insist on having the fire department or building authorities check that all utilities are fully detached before starting on the tear-down.
Service requests can take a while to be processed, so earmark some time weeks before the demolition begins to contact your utility companies and inform them of your cut-off date.
7. Pack Up and Find a Sublet

Before tearing down your home, you’ll need to pack it all up, keeping the day-to-day essentials in a few suitcases, while moving the rest into a storage unit.
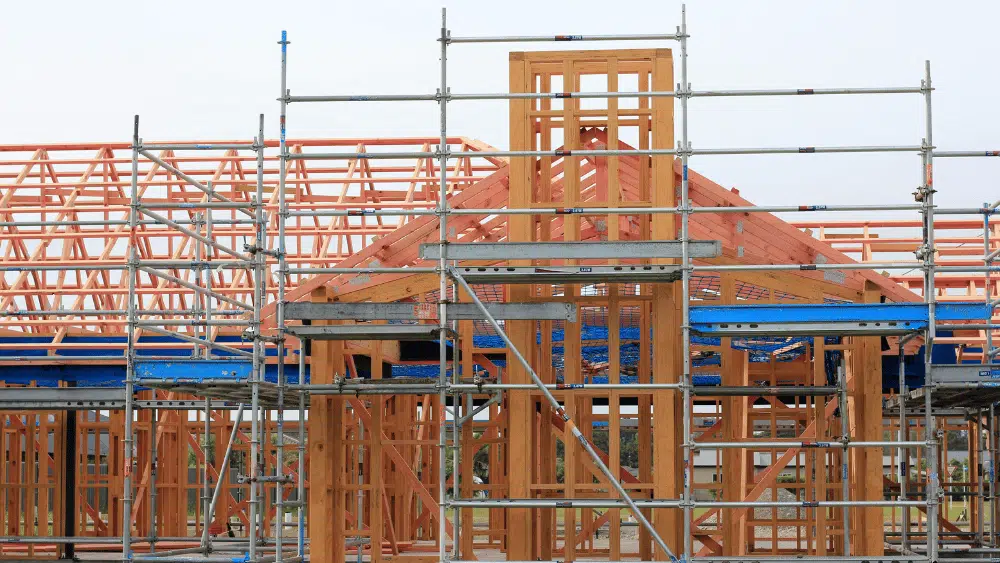
If you’re tearing down your home and rebuilding it, you can anticipate a months-long process. You’ll need to find a temporary home for yourself and your little ones, and your pets if you have any.
It’s safe to say it’ll be dusty, noisy, and downright dangerous to stay on your property even if your contractor is deconstructing your home room-by-room. Make sure you choose a temporary home that suits your family’s needs, including parameters like space, and distance to work and school.
8. Determine What’s Salvageable
There are eco-conscious hacks you should apply to your home demo, even if you’re choosing the mechanical route.
Work with your contractor to figure out what can be saved, donated, recycled, or repurposed so you aren’t chucking everything into a landfill. The EPA notes that you can salvage items, such as:
- Easy-to-remove items like doors, hardware, appliances, and fixtures.
- Wood cut-offs can be used for cripples, lintels, and blocking to eliminate the need to cut full-length lumber. Scrap wood can be chipped on site and used as mulch or groundcover.
- Brick, concrete, and masonry can be recycled on-site as fill, subbase material, or driveway bedding.
- Excess insulation from exterior walls can be used in interior walls as noise-deadening material.
- Paint can be remixed and used in garage or storage areas, or as a primer coat on other jobs.
- Packaging materials can be returned to suppliers for reuse.
9. Prepare a Contingency Plan
Expect the unexpected when you’re dealing with a home demolition project. From bad weather delaying the project, running out of supplies, or encountering a pest problem, you and your contractor could face a wide variety of unanticipated hiccups along the way that will either extend the demolition timeline or drive up the cost of the project.
Your job is to prepare for these interruptions to your schedule and your budget. Essentially, add a buffer so you have some wiggle room and aren’t caught in a lurch should something go awry.
10. Define the Endgame
If your home held sentimental value to your family, it may feel strange to see it torn apart piece by piece. Your contractor will likely start at the top, removing the shingles from the roof that once kept your family safe and sound every night.
Before you get started, make sure you’re clear on the endgame, or what you want the final product to be. Once you and your contractor are on the same page on what the goal is, you can work backward to ensure all your wants and needs are met. It’ll also feel less off-putting seeing your property reduced to rubble – you’ll know the disaster is just part of the process of getting to your desired outcome.

Carmen Chai is an award-winning Canadian journalist who has lived and reported from major cities such as Vancouver, Toronto, London and Paris. For NewHomeSource, Carmen covers a variety of topics, including insurance, mortgages, and more.
 Best Modular Homebuilders in Alabama