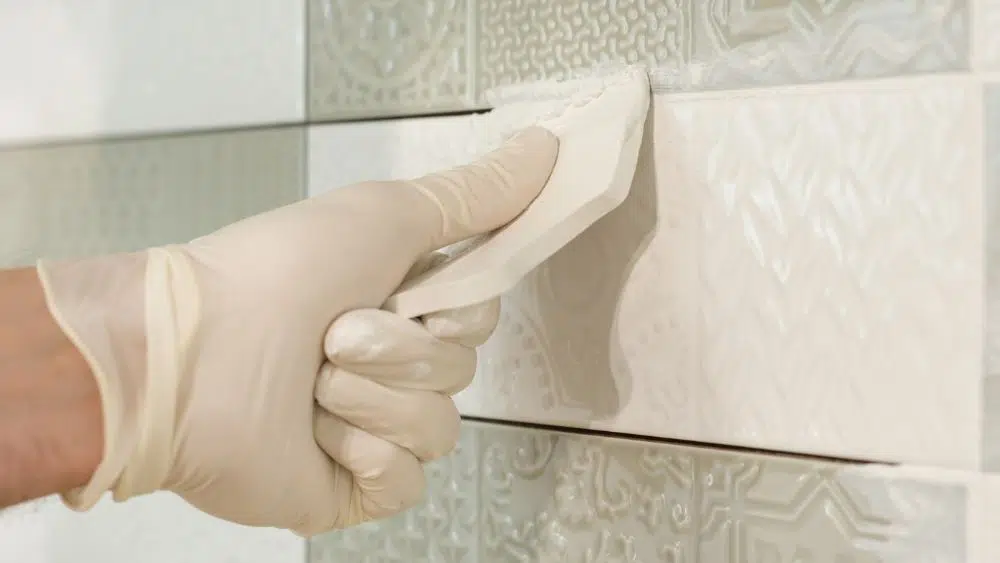
Adding beautiful tile or natural stone to your home can elevate a space’s appearance. Installing this tile or stone seamlessly so it stands the test of time does require one key element: grout.
When it comes to tiling projects, grout plays a crucial role in both the aesthetics and functionality of the installation. Grout fills the gaps between tiles, ensuring they stay in place and preventing debris and moisture from seeping underneath. Understanding the different types of grout and how to properly seal it can make a significant difference in the longevity and appearance of your tiled surfaces.
To help you choose the right grout for your design project, NewHomeSource has put together the ultimate guide on everything you need to know about grout — whether you’re installing tile in a bathroom or cooking space or adding stone to a backyard cabana.
What Is Grout?
Grout is a blend of sand, cement, and water that forms a mixture to fill in and seal gaps between the tile or stone. This material can also be infused with pigment to create a specific color.
What Are the Benefits of Grout?

Grout ensures that stones or tiles are properly joined together, resulting in a sealed finish and lending further support to the tile or stone.
What Types of Grout Are on the Market?
Epoxy Grout
Epoxy grout is made of epoxy resin and hardener, making it a hugely popular choice since it’s highly durable across the board. It doesn’t need to be sealed, which is a major attraction as well. This material is durable and resistant to many stains
Epoxy grout is a good choice for countertops, and can hold up against various cleaners as well. However, this type of grout can be prone to fading and discoloration, especially when used outdoors.
Epoxy grout is more expensive and can be more challenging to work with, but it’s ideal for areas exposed to heavy moisture, such as showers and commercial kitchens. This grout type can cure very quickly, so it’s recommended to have tiles with epoxy grout installed professionally.
Sanded Grout
This material is a sand- and cement-based grout. When sand is mixed with cement, the fused bond makes this material resistant to cracks and damage. Because of this, sanded grout is a popular option to consider for certain floor tiles. This grout style is slower to set, making it an easier choice for home DIYers.
This type is typically used for wider joints, usually 1/8 inch or more. The sand provides strength and prevents the grout from shrinking as it cures. Sanded grout is ideal for floor tiles and high-traffic areas.
Unsanded Grout
Unsanded grout is cement-based, making it rather sticky, so it won’t move extensively during installation. But it is prone to cracking due to shrinkage.
As the name suggests, unsanded grout does not contain sand and is used for narrower joints, less than 1/8 inch wide. It is smoother and sticks better to vertical surfaces, making it suitable for wall tiles, such as those in bathrooms and kitchens.
Acrylic Latex Grout
This is an unsanded grout that consists of a mix of latex and an acrylic additive. It results in a grout with some flexibility.
Polyurethane Grout
This type of grout is flexible and water-resistant, making it suitable for areas with temperature fluctuations or slight movement, like outdoor patios. It’s also resistant to stains and easier to clean than traditional cement-based grouts.
Which Grout Should I Use?
The right type of grout is going to play a pivotal part in the overall durability of the tile or stone, so it’s important to make sure you or your contractor selects grout based on the stone or tile size in order to ensure the material’s lifespan:
- If the space between tiles is an eighth of an inch or less, go for acrylic latex, epoxy grout or unsanded grout.
- If the space between tiles is larger than an eighth of an inch, choose sanded grout (unsanded grout shrinks as it dries).
Does Grout Come in Different Colors?

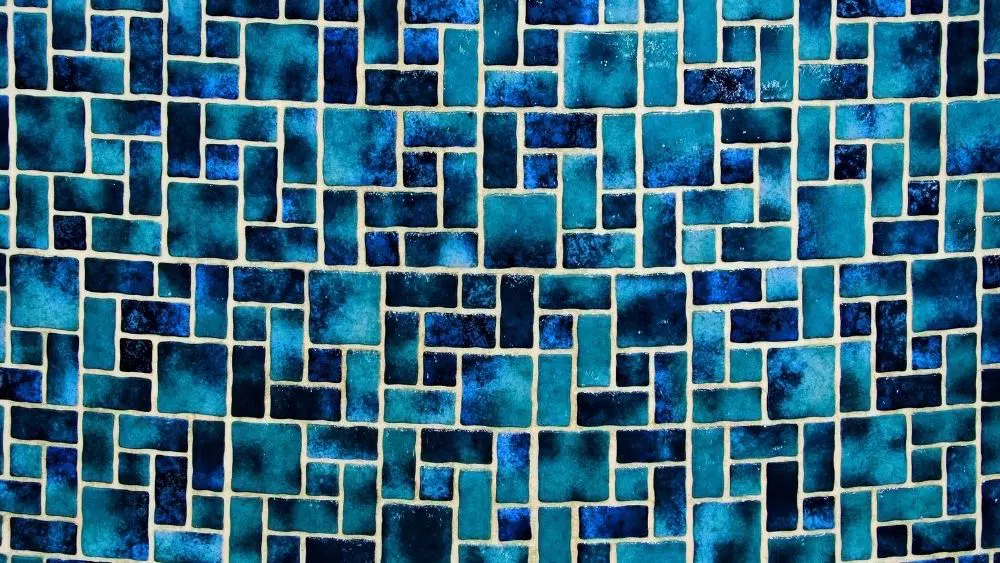
Yes, there are loads of hues to explore on the market, ranging from bright white to darker tones, and even some custom colors too. Vivid white tones can look fresh and crisp but can be prone to staining. Darker grout will expertly hide stains but might fade over time. Consider these details when browsing grout color styles.
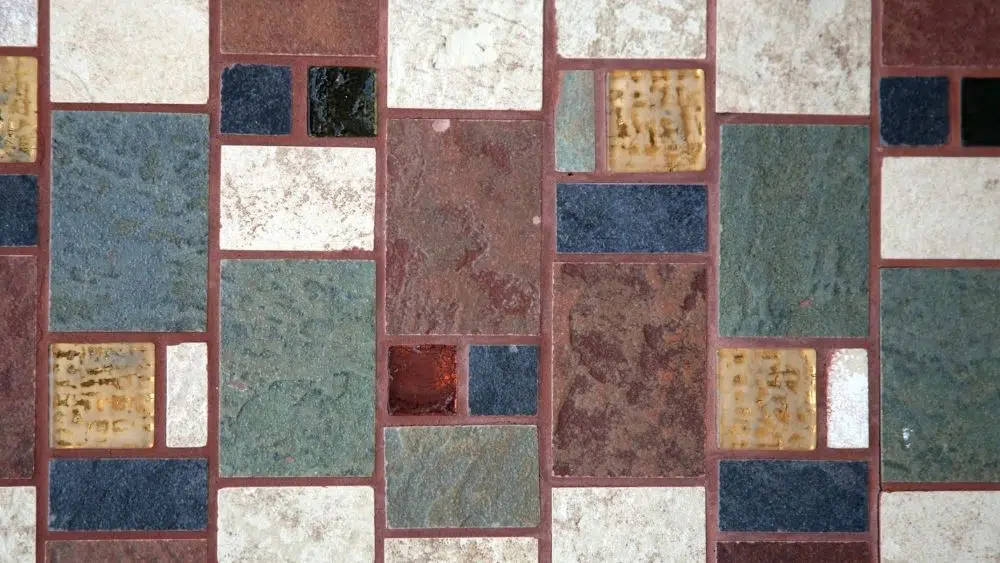
If you want to make your tile pop, try these two suggestions. Match your stones or tiles to the grout for a seamless, pulled-together look. Try a contrasting color scheme and use a grout that is the opposite hue of the tile for an added design element.
If you’re unsure of color choices, go monochromatic and neutral. A classic neutral is stylish and stands the of time no matter what’s trending.
Does Grout Need Sealer?

In most cases, yes, you’ll need to seal the grout after the application process. Odds are, you’ll be installing tiles and stones in spaces that are prone to dampness or moisture, such as bathrooms and kitchens. But outdoor spaces like pools, outdoor showers, and cabanas can see a fair amount of condensation and dampness, too.
The exception is if you’re using epoxy grout. Its formulation already includes a sealer.
Sealing grout is essential for protecting it from moisture, stains, and mildew. Here’s a step-by-step guide on how to seal your tile and grout effectively:
- Choose the Right Sealer: There are two main types of grout sealers: penetrating sealers and membrane-forming sealers. Penetrating sealers absorb into the grout and protect it from within, while membrane-forming sealers create a barrier on the surface. Choose a sealer that is appropriate for your grout type and the area being tiled.
- Apply the Sealer: Using a small brush, sponge, or applicator bottle, apply the sealer evenly over the grout lines. Be careful to avoid getting too much sealer on the tiles themselves, as it can leave a residue.
- Clean the Surface: Ensure that the tiles and grout are thoroughly cleaned and completely dry. Use a grout cleaner or a mixture of vinegar and water to remove any dirt or residue.
- Wipe Off Excess Sealer: After applying the sealer, wipe off any excess from the tile surfaces with a clean, dry cloth. This step is crucial to prevent a hazy film from forming on the tiles.
- Allow to Cure: Follow the manufacturer’s instructions regarding drying and curing times. Generally, the sealer will need to cure for 24 to 48 hours before the area can be exposed to water or heavy use.
- Reapply as Needed: Grout sealers typically need to be reapplied every 1-2 years, depending on the level of traffic and exposure to moisture. Regularly check your grout for signs of wear and reapply sealer to maintain its protective properties.
Sealer is available in two forms: spray-on and applicator. Spray-on sealer comes in an aerosol can and is sprayed over the grout. An applicator sealer is applied with a brush or roll-on top directly to the grout. Depending on your personal preference, either sealant gets the job done. However, brushes and roll-on applicators can provide better accuracy in terms of grout coverage. Pro tip: To keep your grout looking good and to prevent mold, it’s best to reapply grout sealer annually (or more often for high-moisture areas).
By understanding the different types of grout and how to properly seal and maintain it, you can ensure your tiled surfaces remain durable, beautiful, and protected for years to come. Whether you’re tiling a bathroom, kitchen, or outdoor space, the right grout and proper sealing techniques are key to a successful tiling project. With this information, your tiled area will be a timeless accent in your home.

Stephanie Valente is a Content Director and Editor in Brooklyn, NY. She’s previously held writing and social media positions at Barkbox, Men’s Journal, and currently works at a full-service advertising agency. She’s a self-confessed home and design enthusiast. Stephanie is an award-winning poet and fiction writer. When she’s offline, you can find her taking a yoga class, running, hanging out with her rescue dog Pepper. Find her on stephanievalente.com.
 6 Most Affordable Cities in Delaware