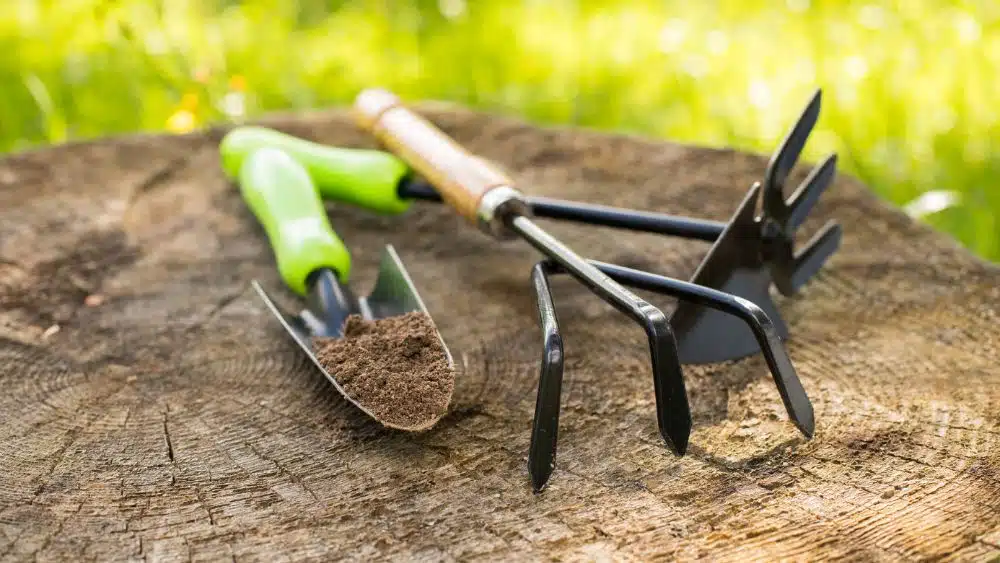
New homeowners may be looking forward to planting a spring garden or watching their fall harvest brighten up the yard with bold, colorful hues. The challenge, however, can be with the land. If the soil isn’t ready for planting, then dropping seeds into the plot will be quite unfruitful. In this case, homeowners may be quick to grab a spade and begin tilling up the dirt as a means of preparation. But there is a simpler solution: no-till gardening.
No-till gardens have been around for a while, but are gaining more recent popularity with homeowners who want to start outdoor gardens but have less-than-ideal soil conditions. Particularly in areas that are rocky, weed-infested, or have thick clay soils, no-till gardening may be a great solution to your planting problems.
What’s the problem with digging, anyway?

Remember, soil is an active, living unit. It’s full of microorganisms, vital nutrients, oxygen, and water. When homeowners till their soil, it’s usually under the assumption that tilling leads to thorough mixing of the nutrients and evening out of the compacted microorganisms while also loosening the soil to allow more airflow and easier water drainage.
More often than not, however, tilling disrupts the natural processes occurring in the soil. It can rip apart the tiny organisms’ ecosystem, and everything from fungi to earthworms to bacteria may be stopped from generating healthy nutrients to build up the soil’s fertility. This causes a break in the balance of good and bad organisms and will force the soil to restart from square one.
Plus, tilling is exhausting manual labor. It is often time-consuming and may cause problems for your back and shoulders. When possible, no-tilling takes these issues out of the equation to ensure that you have a healthy and happy garden, receiving all the nutrients it needs.
Benefits of a No-Till Garden
No-till gardens can be a great solution for yards with soil that is depleted of nutrients or full of rocks and debris, thus making it difficult to till. Minimal items and tools are needed to make a no-till garden, so you can make it on the cheap if you have large amounts of organic materials on your hands such as straw or hay, wood chips, leaves, compost, manure, and twigs.
While it does require regular maintenance, a no-till garden has a better chance of thriving and supporting your plants through the full season if layered properly.
How to Start a No-Till Garden

Here is a step-by-step guide for constructing a no-till garden.
Decide Where it will Go
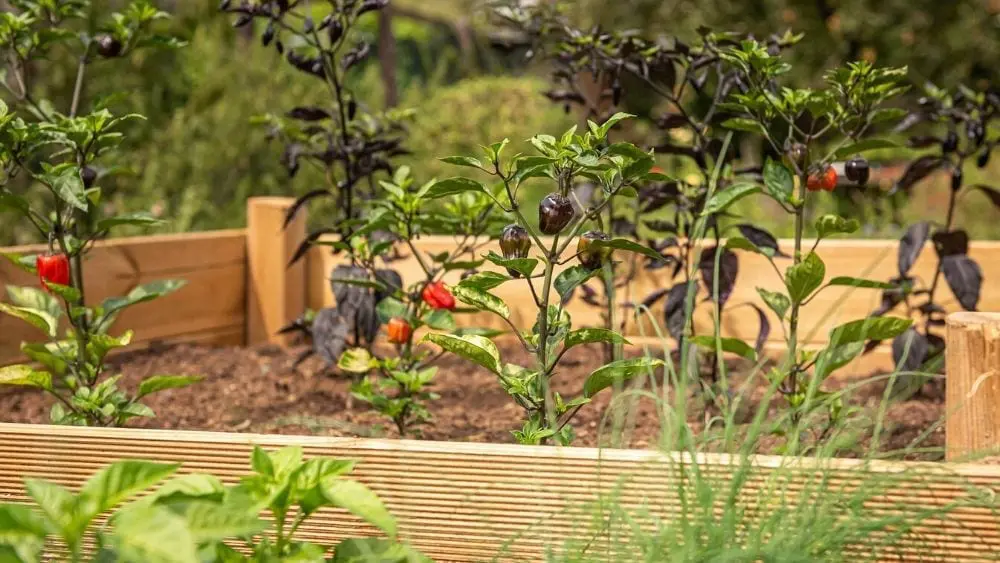
You might already have a plot picked out for your garden. If not, consider a smaller space that is easy to maintain and not susceptible to foot traffic (you don’t want compacted soil). It’s not absolutely necessary to make it a raised garden bed, but the walls around the sides can be helpful in containing your layers.
Lay a Base Layer
The goal of your base layer is to block weed growth in your garden. Because weed seeds are deep in the soil, the best way to get right of these pesky invaders naturally is to simply smother them with some type of material. Some gardeners will spread a thin layer of newspaper or cardboard for the base, but this isn’t a requirement. If you do use cardboard, be sure to wet it down so that the paper can more easily break down and form into part of the ground. You can also use straw or hay if those are available.
Layer and Repeat
Follow the base layer with a strong layer of compost, covering the entire area. After the compost, add another layer of natural materials such as wood chips, leaves, twigs, manure, straw, or hay. Keep up the pattern of compost and organic material, switching back and forth until you either reach your finishing point or run out of organic materials.
Just keep in mind that the looser the organic material, the more you will need to cover for an even layer. A good goal is to make your no-till garden a minimum of 6 inches thick.
Top with Finer-Quality Soil
Save your highest-quality compost or topsoil for last, as this will be where your plants primarily receive their nutrients as young seedlings trying to begin growth. Spread about one inch on the top of the layered cake, like adding the cherry on top.
Finish, Cover, and Plant
It is critical to cover your soil with a layer of mulch to protect it from erosion and allow the effects of no-till gardening to really take hold without being disturbed. Over time, the layers will mix and mold together; this allows a healthier garden space that gives opportunity for more natural interaction of healthy organisms and bacteria, which will grow the best nutrients and make your plants happy.
Repeat Annually
It’s a good idea to repeat this no-till process annually for the soil to maintain good fertility without being depleted of nutrients. Just like how you might till your garden year after year, layering is important for each year that you want to maintain healthy soil life and keep the area ready for new plant growth.
Less Toil, Less Trouble

Creating a no-till garden is not only easy, but can be fun and better for the environment. It offers a more sustainable solution for replenishing soil needs without disrupting the natural processes that boost soil fertility. With a little bit of research and minimal work, your no-till garden will be ready for a brand-new planting season.

Melanie Theriault is a writer, counselor, and lifelong learner. She holds a B.A. in Sociology from Southwestern University, where she discovered her passion for fostering human connection through storytelling.
 How does a Reverse Mortgage Work?